My participation at Ragemap 2019

Futile, is the word that could describe my effort participating in the ragemap 2019 event initiated by Sven Coop Forum’s mod Hezus.

The time target for the main part of that map was 3 hours. I ended up working on it a few hours on saturday and the entire sunday (the day of the deadline).

What did I do wrong?

While I know my way around Hammer and graphics, I barely know how to create multiplayer maps. I especially lack knowledge of Sven Coops gameplay and entities, which wasn’t really a problem so much, because neither did I own SC, nor were I motivated to download it for the mapping event.

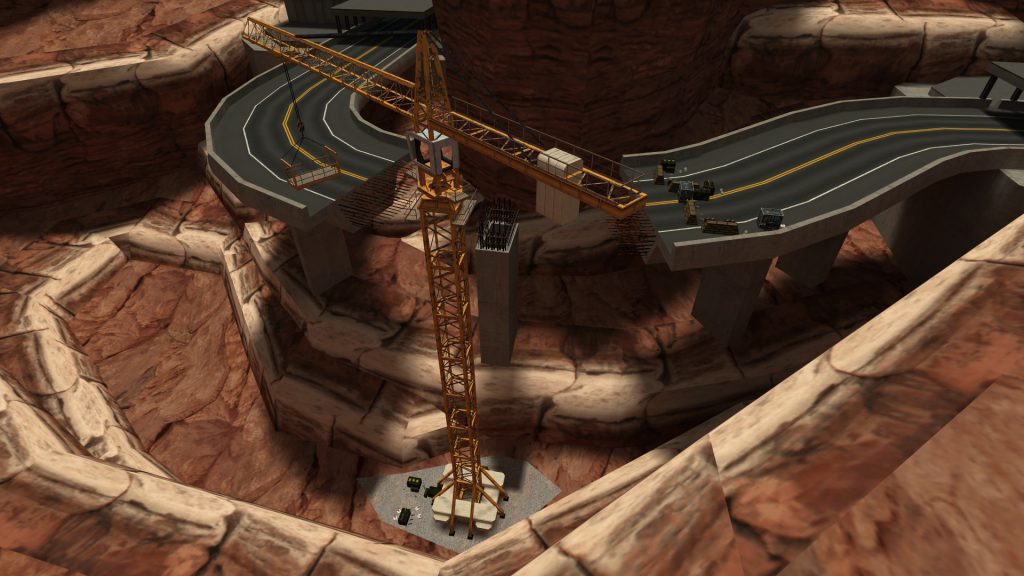
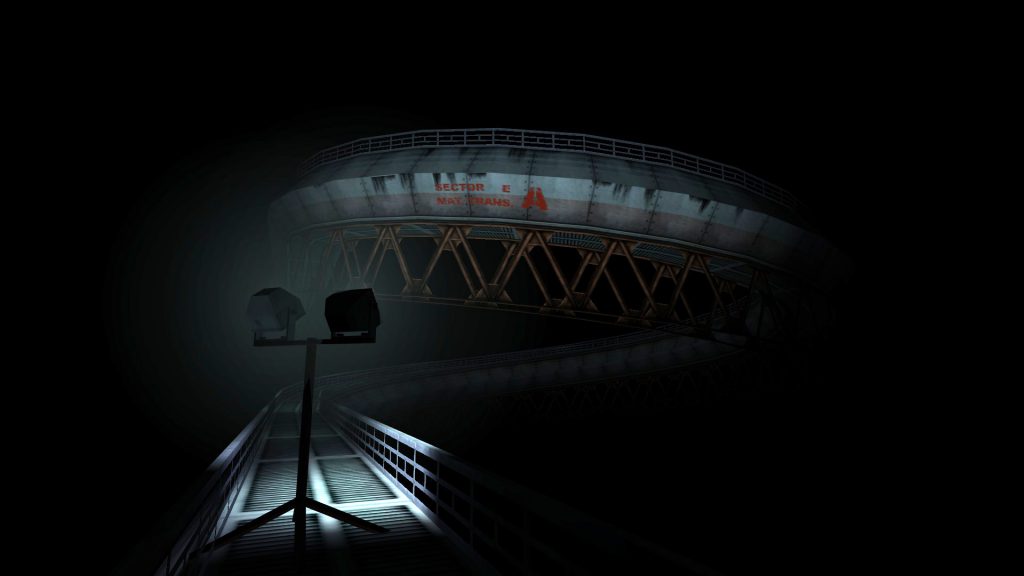
So I just sticked with the standard Half-Life entities and put together a simple scene, where the team needs to split up and the main group has to protect the lone wolf, while he again controls a crane, enabling the team to escape. Finally the lone wolf can longjump down from the crane and catch up with the main group, in theory.

How well does this work in multiplayer? I don’t know. I should have started to work on this a week ago, then – maybe – I could have had the chance to test it along with some friends.

How did I create the map?

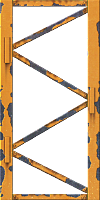
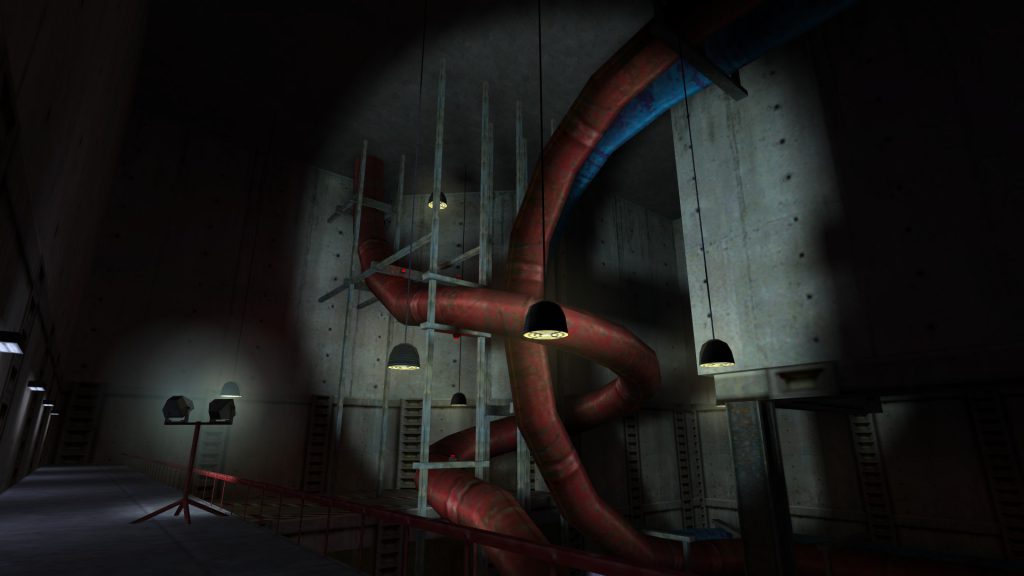
On the first day I created the crane textures and already mapped half of the the crane itself in Hammer. The crane textures were done in Photoshop CS3. I used reference images from google, mostly of Liebherr building lot cranes.

I took the rest of the textures from my existing project files of Nohra’s Concealment (maybe you already figured that out).

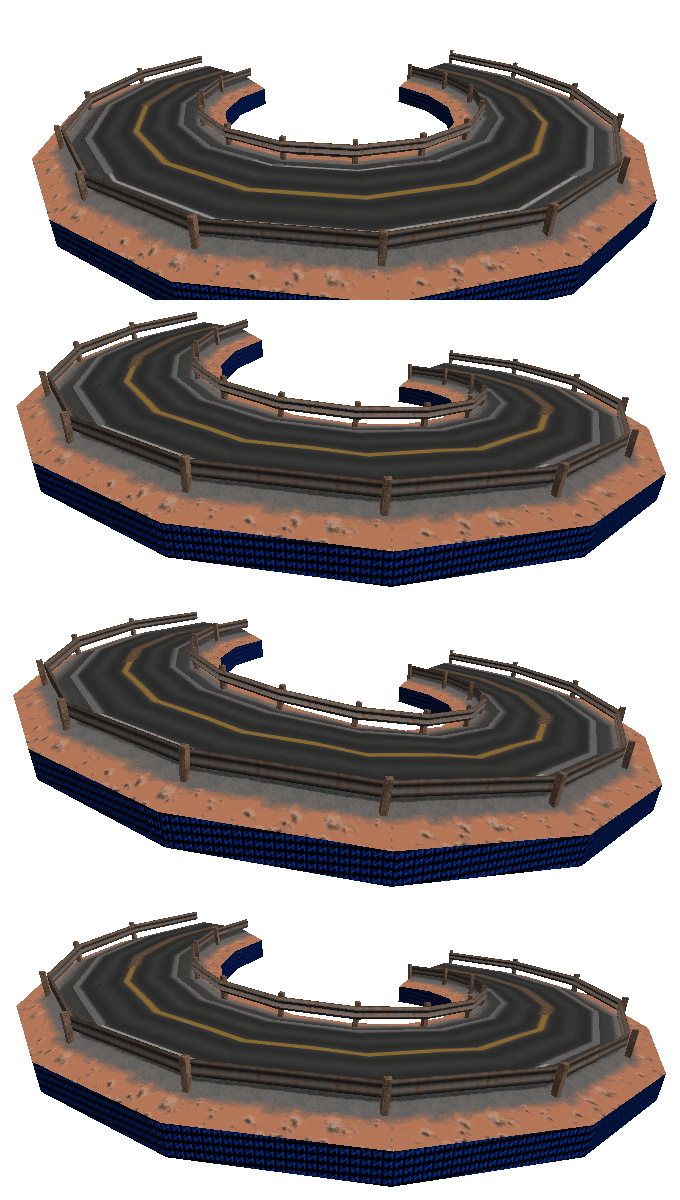
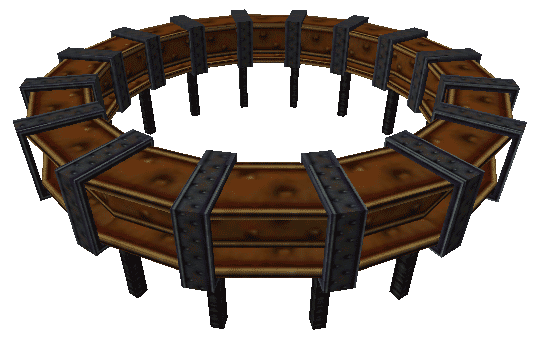
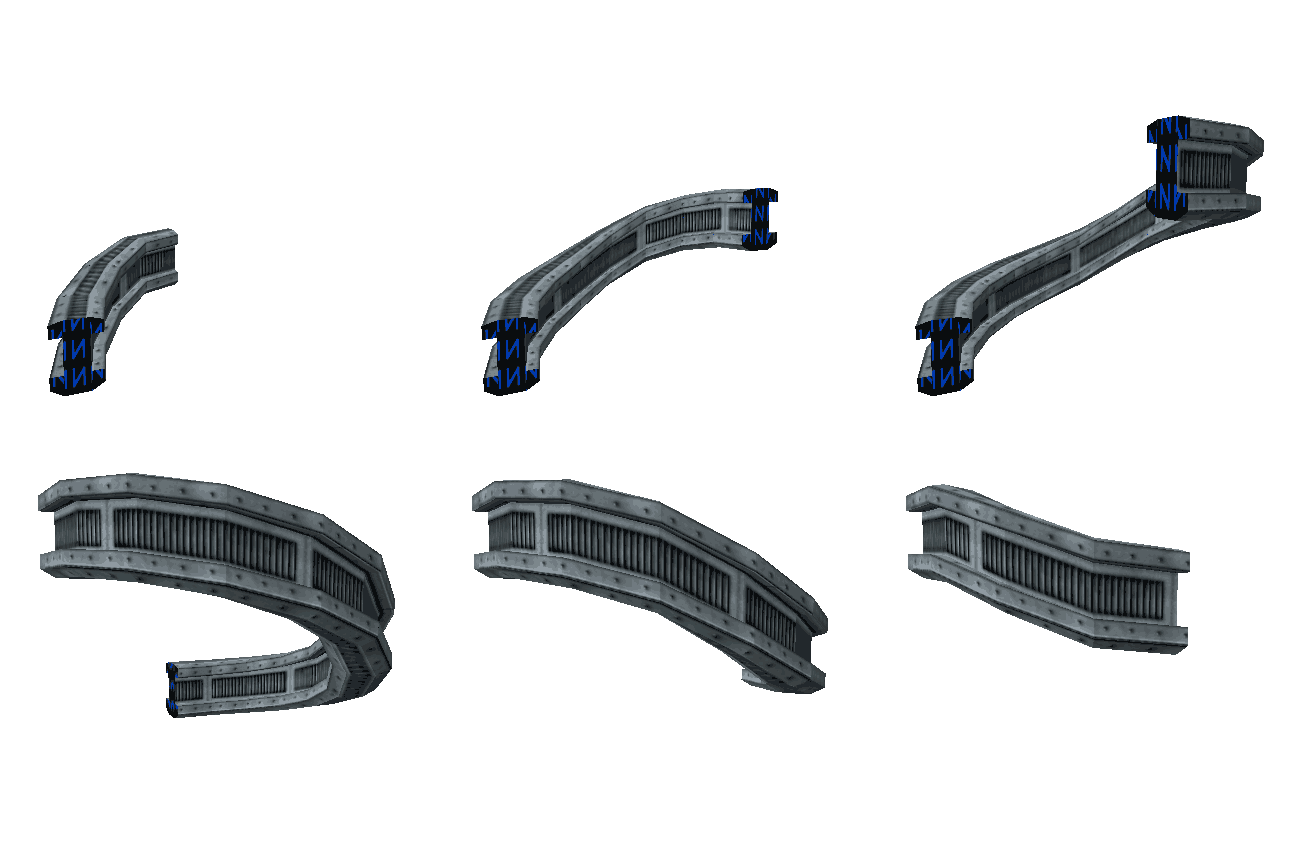
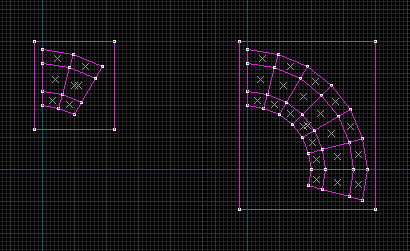
I used Map2Curve for the curved bridge and almost completely for the terrain. Here and there I had to fix something by hand of course, but the tool really saved a lot of time.

Mostly I was working in Hammer. I switched to JACK for creating the paths, which Map2Curve need to generate terrain.

Conclusion

Starting 2 days before a deadline might be a great way for keeping up the motivation, however it should be left to the experts.
Knowing the requirements of multiplayer maps also comes in handy, logically.

Map2Curve Update 0.5 Progression

Hey people,
a little preview on the next feature for version 0.5 of Map2Curve:
Detail objects.

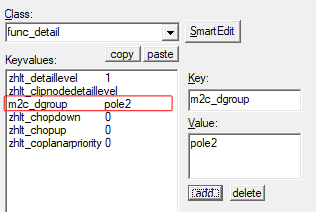
Detail objects can be anything that is not meant to be turned into a curve, but is still supposed to be aligned along a curve object.
This will include point entities, too, as well as entire solid brush objects, for example lights, cross beams, ropes, etc. Anything you might want to “decorate” your curve object with.

Of course there will be certain limitations again, but this is at least meant to be a huge relief for certain mapping tasks. Primarily it eliminates the need for manually doing it by using “Paste Special” in an Editor.

Map2Curve v0.4 released

Hey ppl, this update was cooking for quite a long time now.

I’ve added many little things I wanted to have in there before I continue to work on the remaining big features: Precise path extrusion, completely seamless textures and detail support).

Since the additions are so versatile and working on the documentation gives me a headache, I will try to cover all of them on an additional page.
So, for a detailed overview of this version, go here.

Download

Features

Transformations
Rot, Move and Scale for source and final objects.

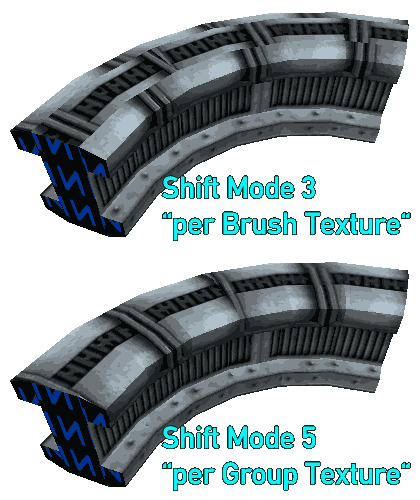
Group based texture shifts
Entity groups are now being respected for horizontal texture shift calculation.

Transitions
A way to control the properties of first and last curve brushes, to be able to combine different curves more easily.

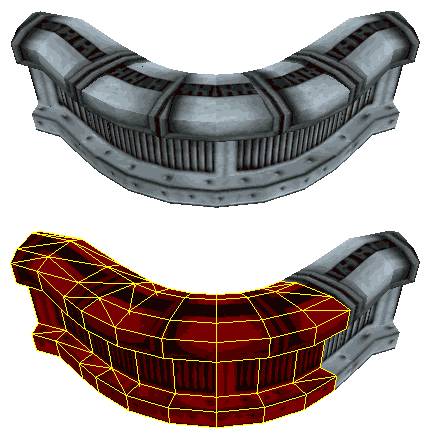
Complex Triangulation
Any brush can be triangulated now. No restrictions anymore.

Export Range
How many sections of the curve object are to be exported. Has an important impact on smooth ramp generation.

Bounding Boxes
Clean bounding boxes for easier handling curves in an editor.

Skip NULL Brushes
Wenn using complex triangulation, occuring NULL brushes can be skipped during export.

Version 0.4 Changelog

  1. Added custom file paths for input and output files.
  2. Added command “append” (0/1) to add newly generated objects to existing files.
  3. Added simple transformations, for final and source object.
  4. Added bounding boxes (0/1; active per default).
  5. Added commands “range_start” and “range_end” (0-100) that control how much of the generated curve object will be exported finally.
  6. Added “transit_tri” and “transit_round” (0/1) to enable control over the first and last brush of a curve and their respective cut-faces.
  7. Added commands “gaps” (0/1) and “gaplen”, to create intermediate sections and control their length.
  8. Overhaul of brush triangulation. Added complex triangulation.
  9. Added “skipnull” (0/1) command to ignore NULL brushes on file export.
  10. Added the shift mode “per group texture” (shift 5) that respects the whole solid entity when calculating horizontal texture shifts.

Map2Curve v0.3 released

Hey there people.

It is done. I have updated the download mirrors according to the new version of Map2Curve:

I have accomplished all of what I was aiming for in this release, including the first version of the path extrusion feature and a complete overhaul of the texture alignment on ramps, which, as I posted recently, now works like the UV Lock feature in JACK.

Next thing I will do is probably creating a few video tutorials and updating the documentation.

As for the rest…

Changelog:

  • New Feature: Added path extrusion
  • New Feature: Added World-to-Face alignment conversion on map load
  • Overhaul: Complete overhaul of the texture alignment for ramps
  • New settings: p_reverse, p_cornerfix, p_split, ramptex
  • Added triangulation for 5 sided brushes
  • Triangulation now default for ramp generation
  • Fixed minor texture misalignment issues

Future planned features:

  • Handling of fixed level components like smaller detail objects (lamps, guard rails) or even whole level parts. At the moment you would achieve those by using special paste in an editor like JACK
  • “Real” path extrusion that works by intersecting lines, like you would usually have it in 3D software.

Map2Curve Update 0.3 Progression #3

Texture alignment on ramps now finally working
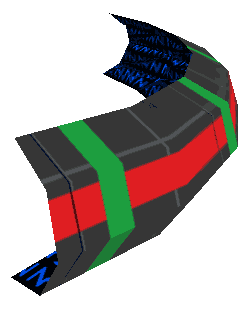
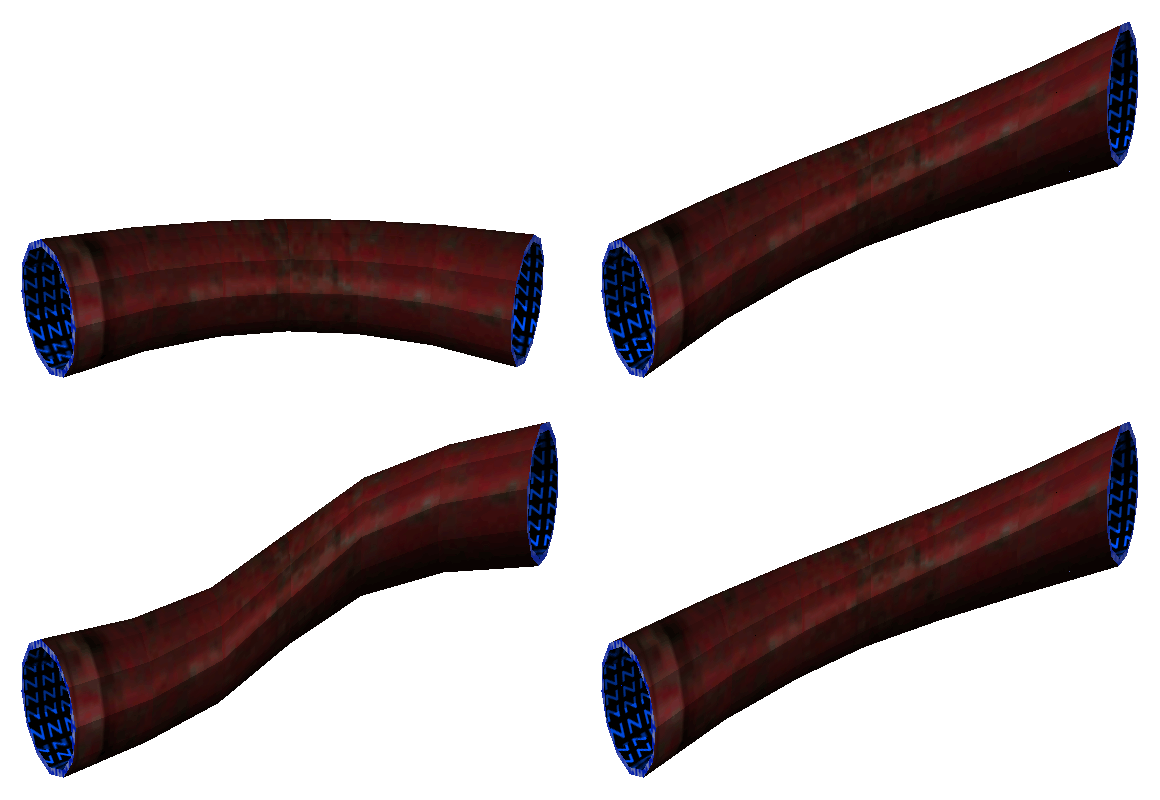
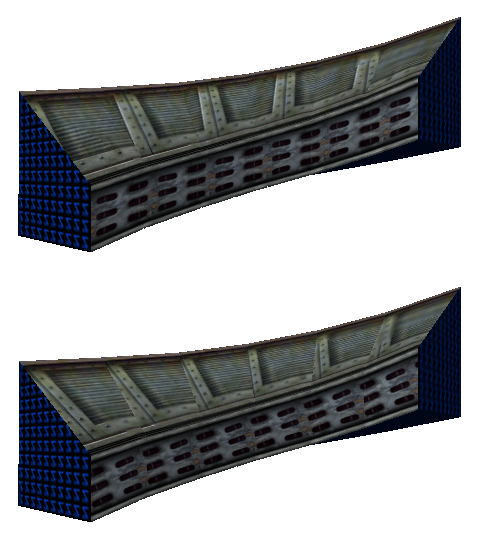
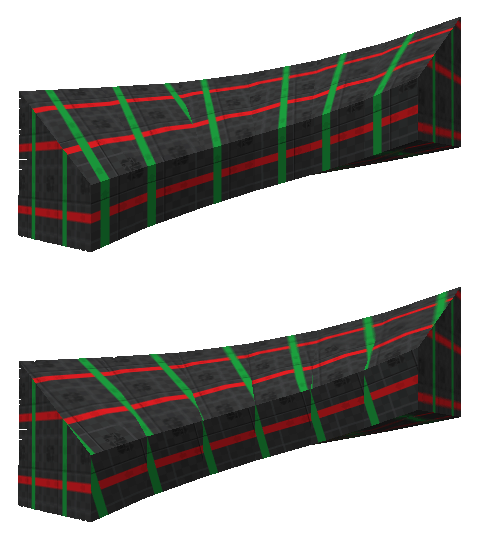
The texture alignment on ramps kept bothering me for weeks now and I finally decided to use a method that does the same as JACK’s UV lock feature. It basically just pulls the texture into the direction you’re moving the vertices to and preserves the original texture shift, while adjusting its scales to fit the new face length.
While this is the best method for texture shift preservation, it will also lead to a certain distortion, when the slope angle is very steep. The pros of that method outweigh this con though.

Compilation issues
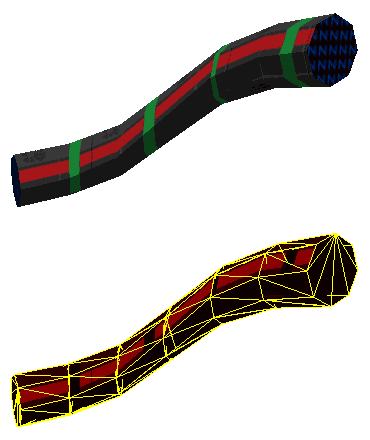
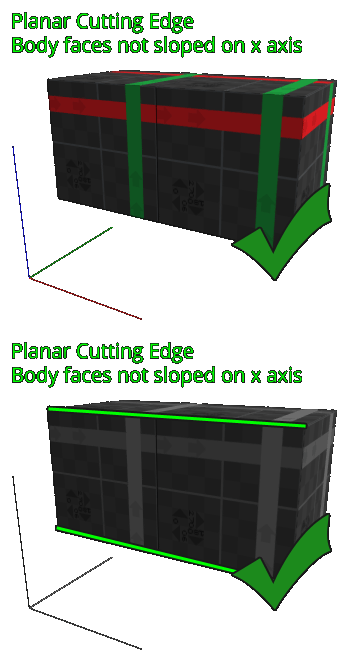
Initially I ran into problems when I tried to compile the pipes in the upper example. I realized that this was caused by them having floating point coordinates, so I was able to compile the demo map without any compiling issues in the end, by just rounding all coordinates to integer numbers – AKA snapping them to the grid – using “round 1” during the generation process.
Doing this won’t have any noticable effect on the texture aligns or shifts, which is absolutely brilliant, because having a managable mesh is important when working in any editor. Of course this will also break any mesh with sloped but non-triangle faces. This should be kept in mind when rounding meshes that actually don’t need to be triangulated.

Alternative texture alignment
Anyway, as an alternative I also included the old method I was working on. It can be used in situations, where crossing details on the horizontal texture axis aren’t that bad, but having an upright vertical texture align is relevant for a natural look… or whatever.

Map2Curve Update 0.3 Progression #2

Texture alignments on ramps
Another little preview on the current update progress for Map2Curve. I was able to polish the texture alignment on ramps a little further. It’s still not perfect, but this doesn’t matter in all situations.


If you want, take a look for yourself. I zipped all the relevant files for this demo map. You can download it here.
Beware, if you try feeding the included files to the current version of Map2Curve, which is 0.2, you will probably not create something beautiful.

Path Extrusion
The newly improved texture alignments will also make the new path extrusion feature much more interesting for large-scale generation of natural looking landscape.


Being able to use uneven heights is a very important aspect, when generating rock formations like these.

Map2Curve Update 0.3 Progression

Currently I am still working on the next update for Map2Curve. In addition to the path extrusion feature, I want to concentrate on correct texture alignment for sloped surfaces this time, like those on a ramp.

When this works smoothly I will be able to combine it with the path extrusion feature which will make very interesting landscape possible.

Thoughts about architecture overkill due to generated brushwork

One idea suggests itself. With a tool like this it becomes easy to create curved brushwork with a lot of details in just a few minutes. A level of detail which quickly becomes too much for the Goldsource engine, so one has to keep in mind: With great power, comes great responsibility.
The polygone usage of these arcs or ramps is – compared to manual low-res construction methods – significantly higher, which will demand for a very thoughtful and occasional usage in suited situations, where a small amount of curvy architecture has a huge impact on the overall quality of the scene.
In my opinion creativity and discretion are very important resources in good leveldesign, if not the most important.

Map2Curve Feature Preview – Extrude Along Path

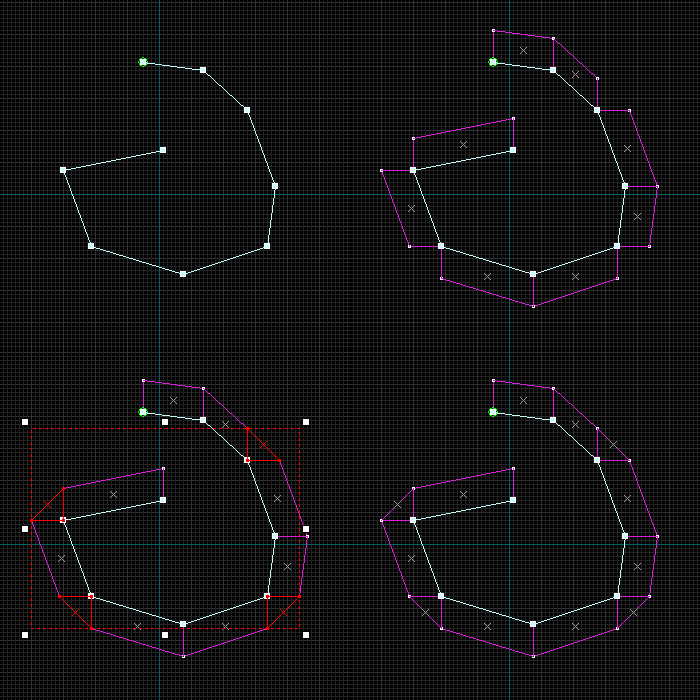
The next big feature of Map2Curve will be brush-extrusion along a path, which was previously created in Hammer.
Having initial issues with the whole path thing, it works nice now.

The current available method creates brushes, that are simple and managable after generation, while still looking smooth in most situations.

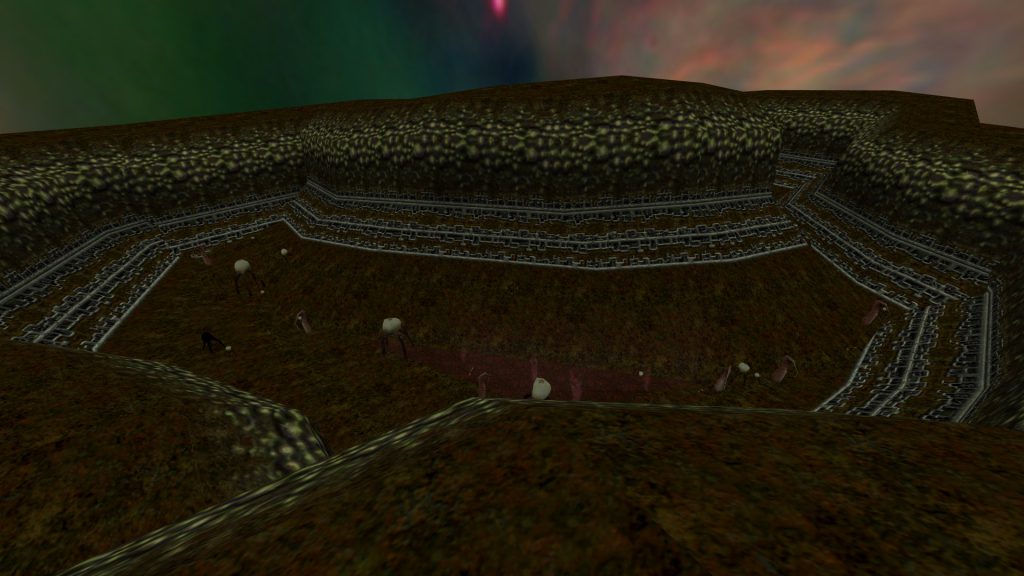
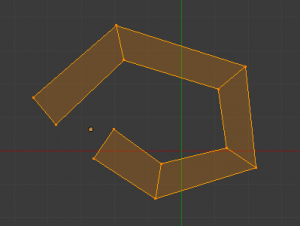
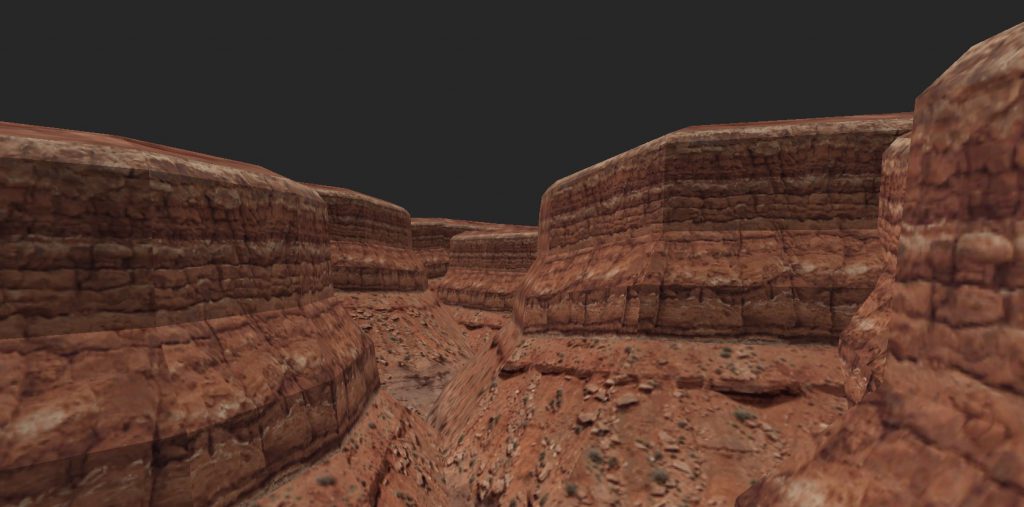
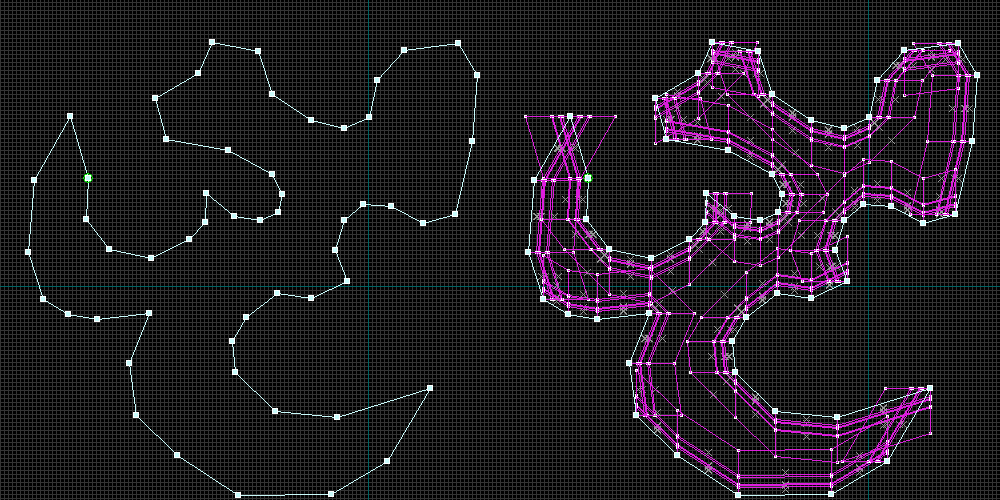
This Canyon was generated from a path and a few brushes, all of which was made in Hammer previously. Generation takes a few seconds and produces easy to manage meshes and correct texture alignments, without using triangles. Another planned feature is also height.

Canyon generated in Map2Curve

Path and generated Brushes

Map2Curve Feature Extrude Along Path

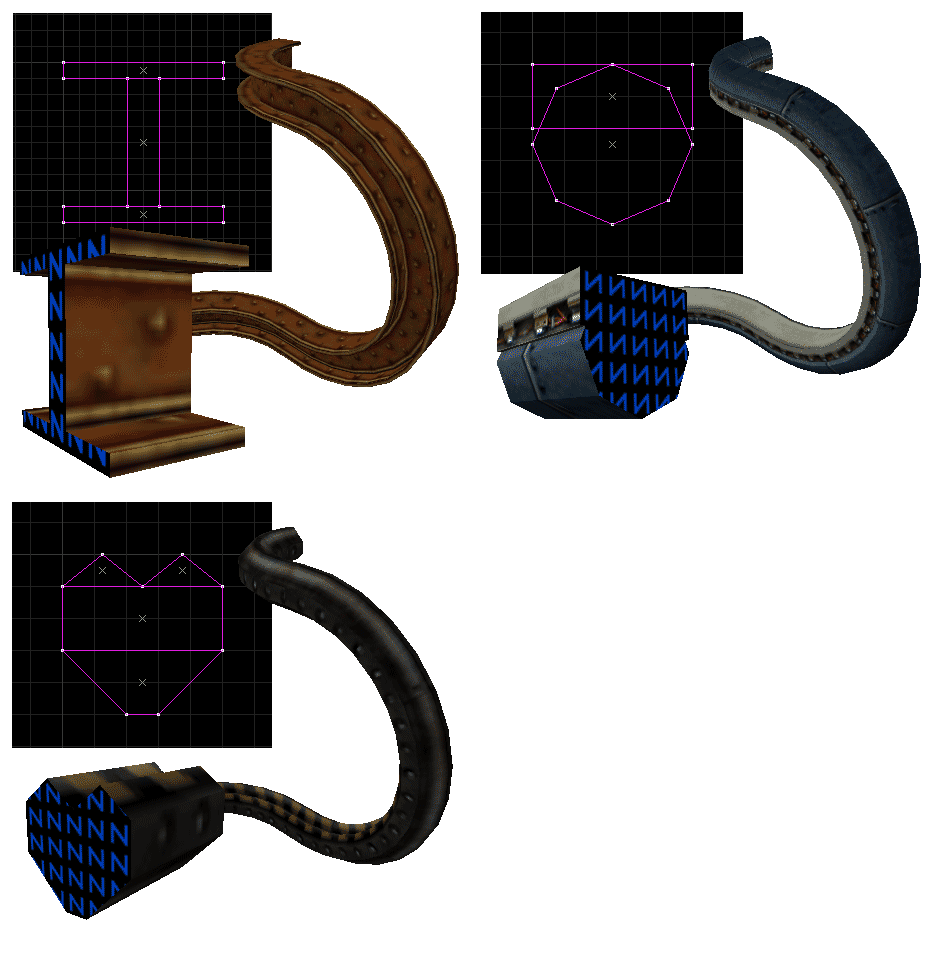
Base Principle of the Path Extrusion

Extrude Along Path Principle

Map2Curve V0.2a released

It’s here!

Download Locations

Changelog
v0.2a
1. Added Drag and Drop for map and txt files. When dropping map files,
defaults.txt will always be used for settings if it exists. Otherwise
internal defaults will be used.
2. Added Solid Entity Support. Point Entities are still being ignored
at the moment, but might be considered in a future update.
3. Added Custom Height command “height”, which is being added to each section.
4. Added round coordinates command “round” (0/1).
5. Added “ramp” as an addition to “height”. Usable with linear (1) and
smooth (2) slope.
6. Added Triangulation “tri” (0/1) for 6 sided Brushes only (Cuboids).
Neccessary for ramp generation.
7. Fixed settings file issue.
8. Fixed invalid Brush issue.

RAMPS!