Futile, is the word that could describe my effort participating in the ragemap 2019 event initiated by Sven Coop Forum’s mod Hezus.

The time target for the main part of that map was 3 hours. I ended up working on it a few hours on saturday and the entire sunday (the day of the deadline).
What did I do wrong?
While I know my way around Hammer and graphics, I barely know how to create multiplayer maps. I especially lack knowledge of Sven Coops gameplay and entities, which wasn’t really a problem so much, because neither did I own SC, nor were I motivated to download it for the mapping event.
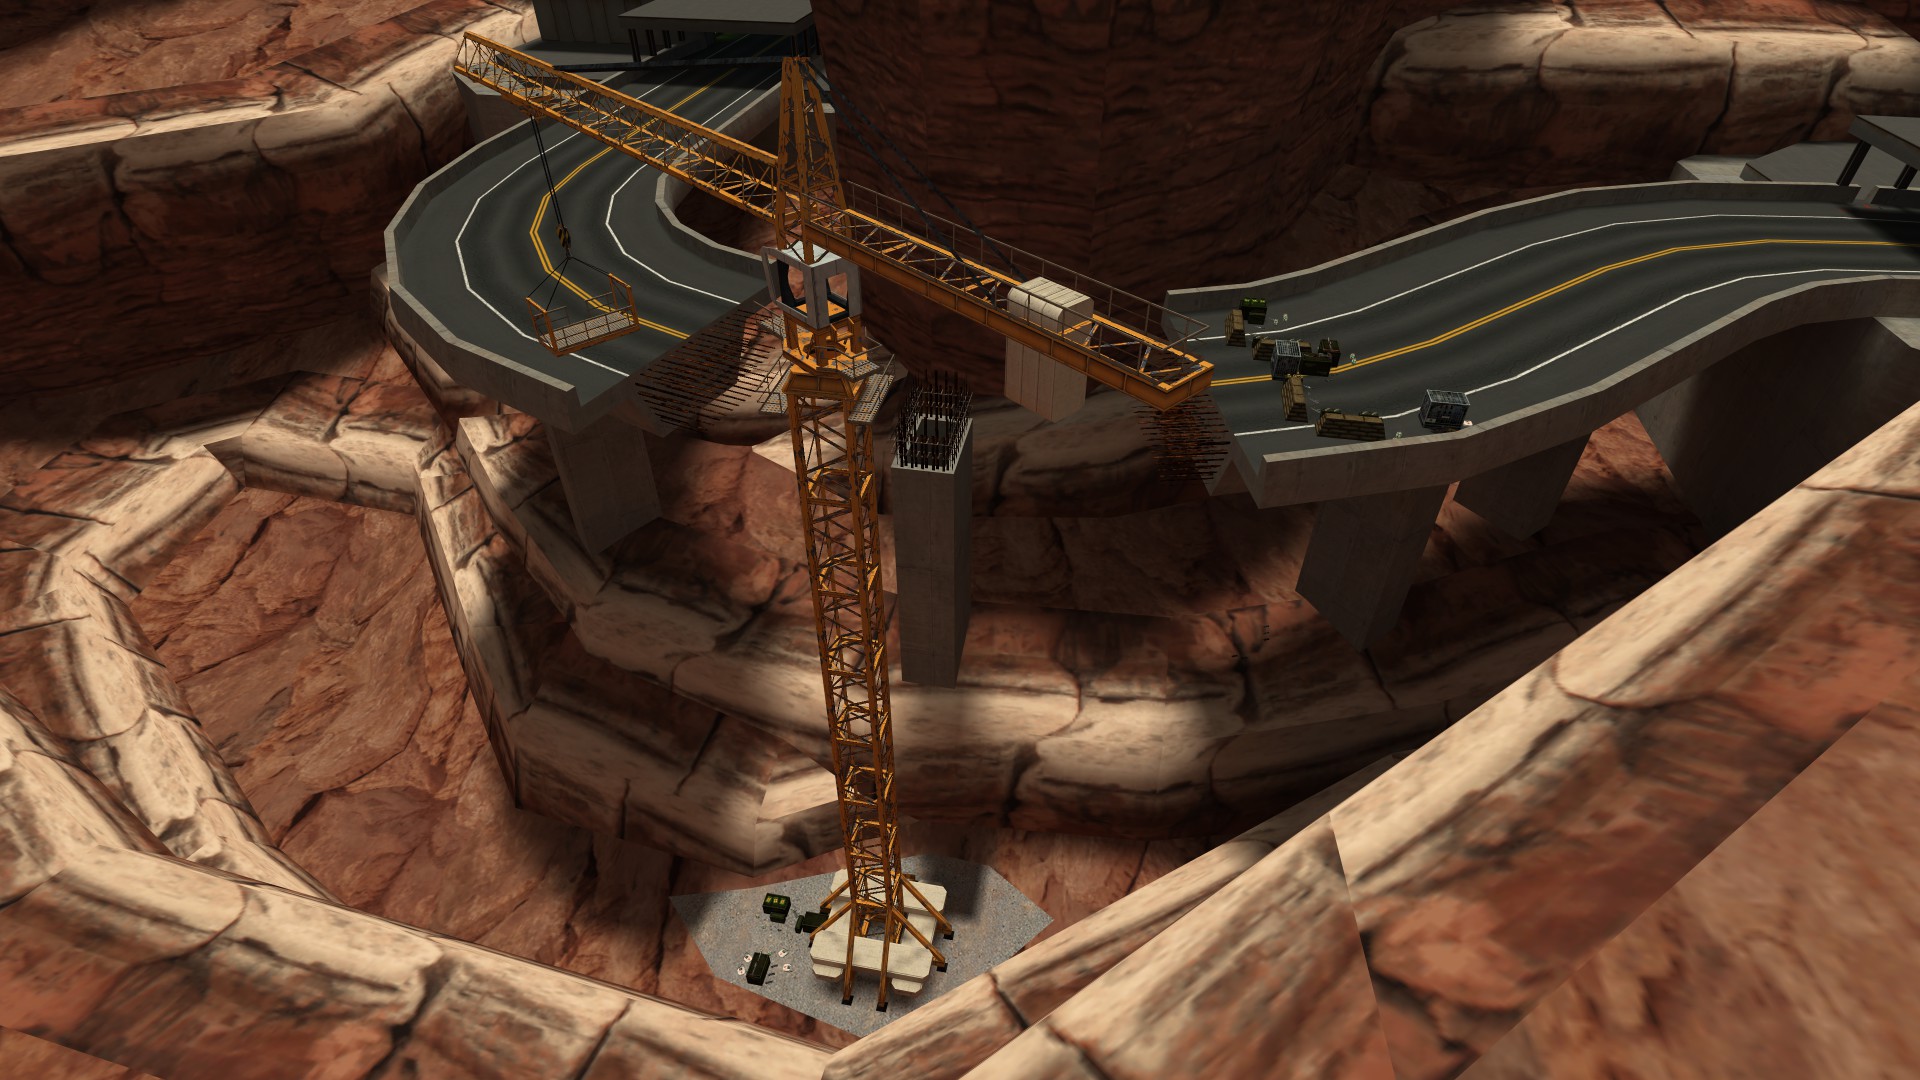
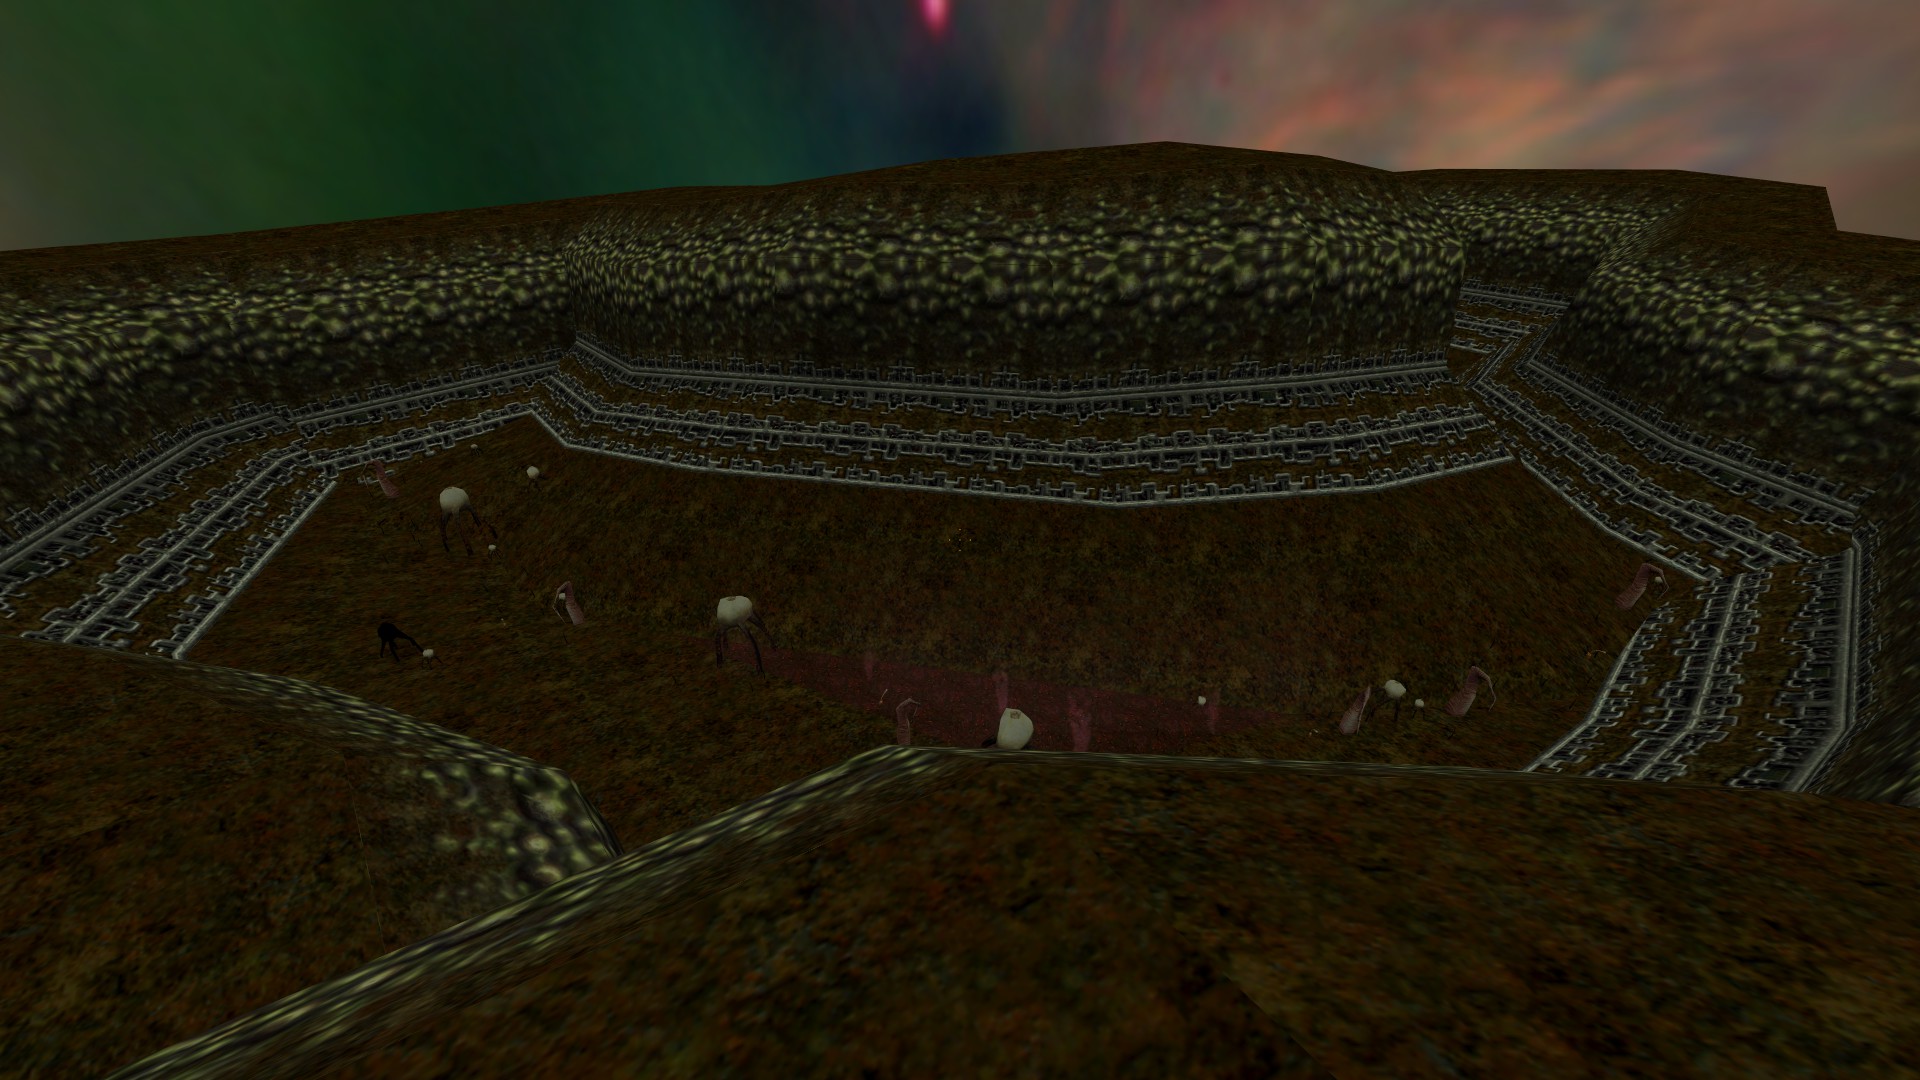
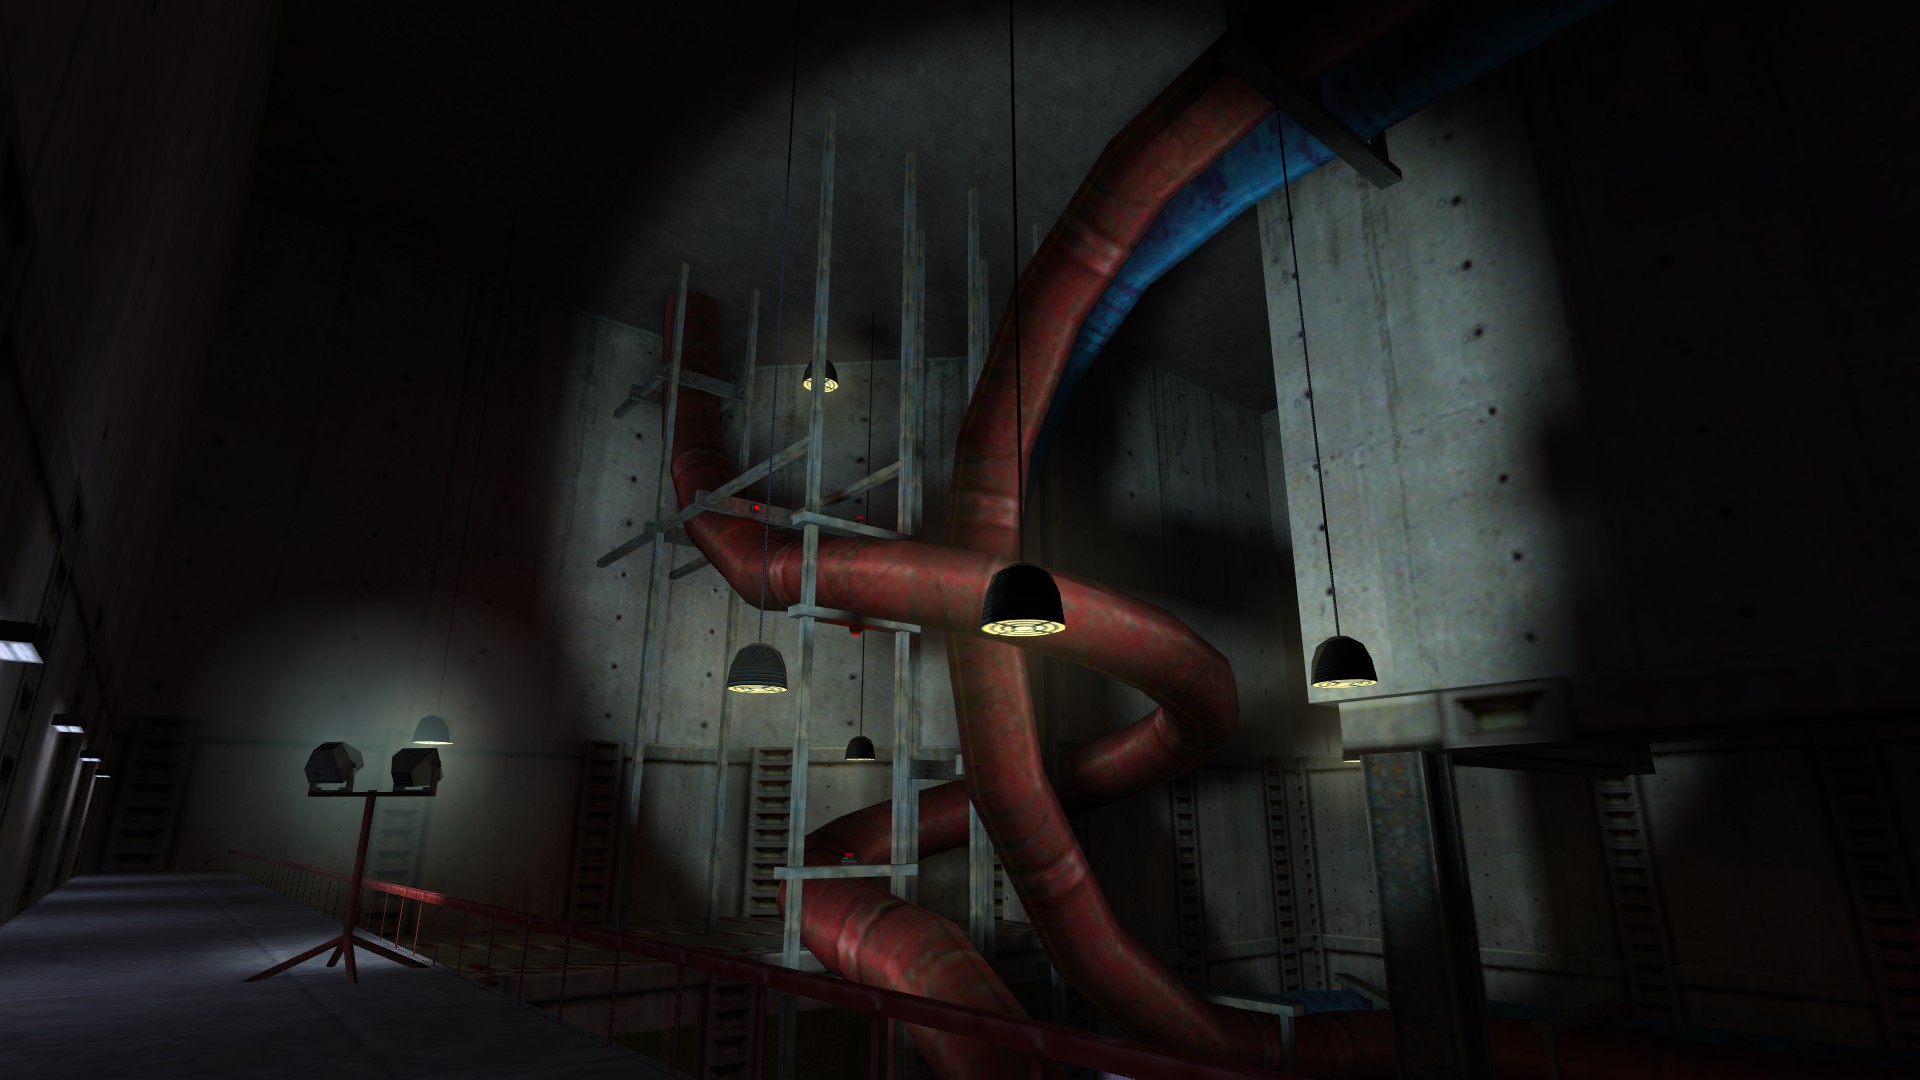
So I just sticked with the standard Half-Life entities and put together a simple scene, where the team needs to split up and the main group has to protect the lone wolf, while he again controls a crane, enabling the team to escape. Finally the lone wolf can longjump down from the crane and catch up with the main group, in theory.
How well does this work in multiplayer? I don’t know. I should have started to work on this a week ago, then – maybe – I could have had the chance to test it along with some friends.
How did I create the map?
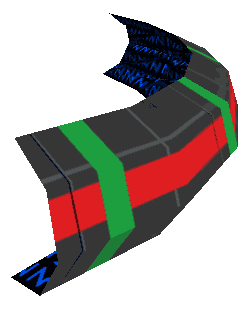
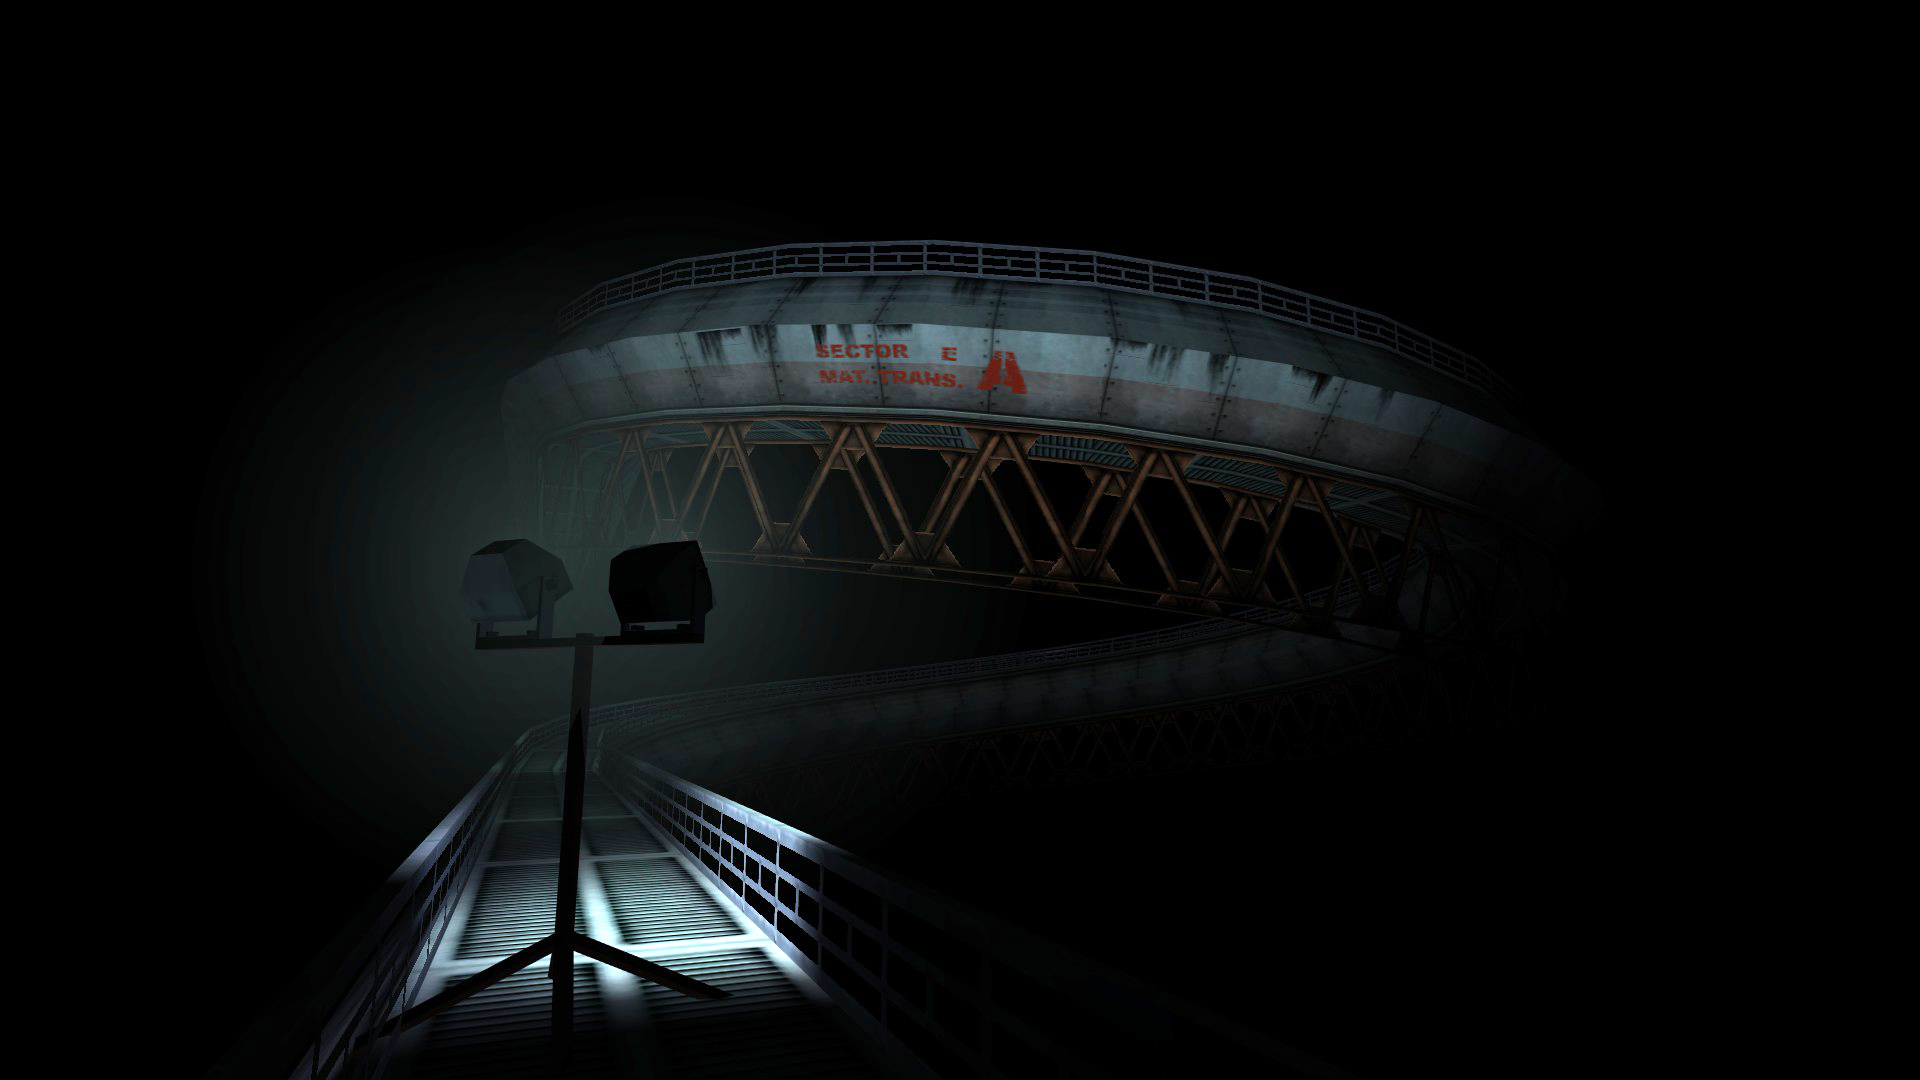
 On the first day I created the crane textures and already mapped half of the the crane itself in Hammer. The crane textures were done in Photoshop CS3. I used reference images from google, mostly of Liebherr building lot cranes.
 I took the rest of the textures from my existing project files of Nohra’s Concealment (maybe you already figured that out).
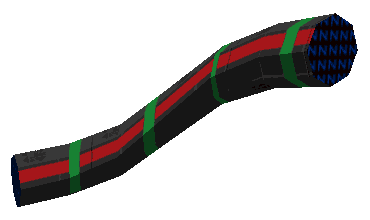
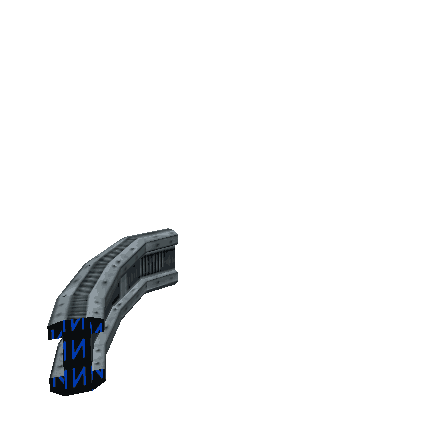
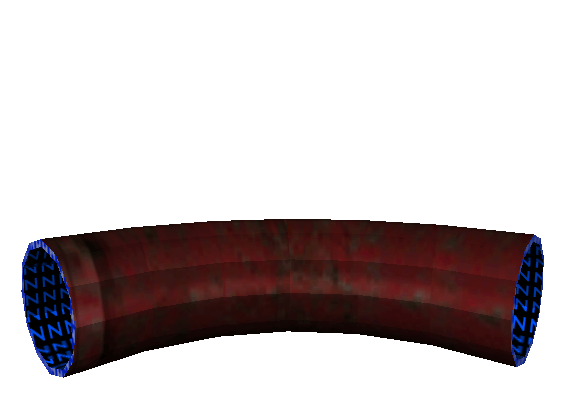
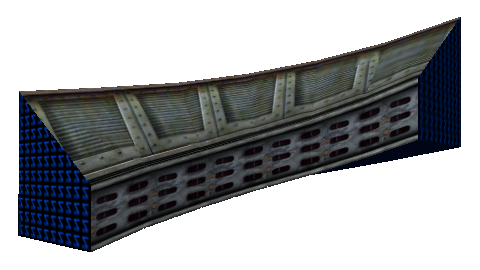
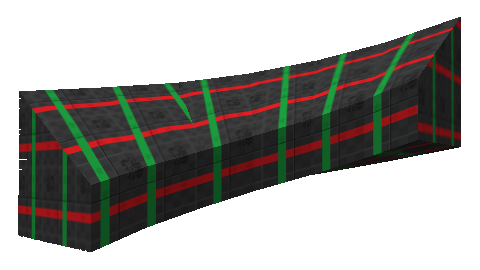
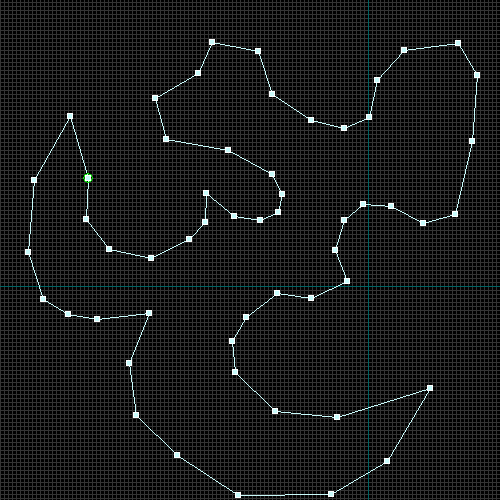
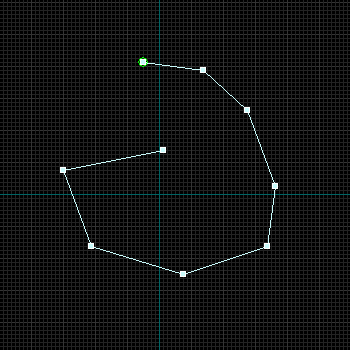
I used Map2Curve for the curved bridge and almost completely for the terrain. Here and there I had to fix something by hand of course, but the tool really saved a lot of time.
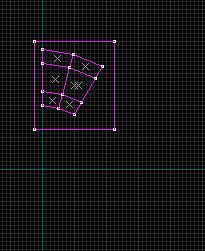
Mostly I was working in Hammer. I switched to JACK for creating the paths, which Map2Curve need to generate terrain.
Conclusion
Starting 2 days before a deadline might be a great way for keeping up the motivation, however it should be left to the experts.
Knowing the requirements of multiplayer maps also comes in handy, logically.
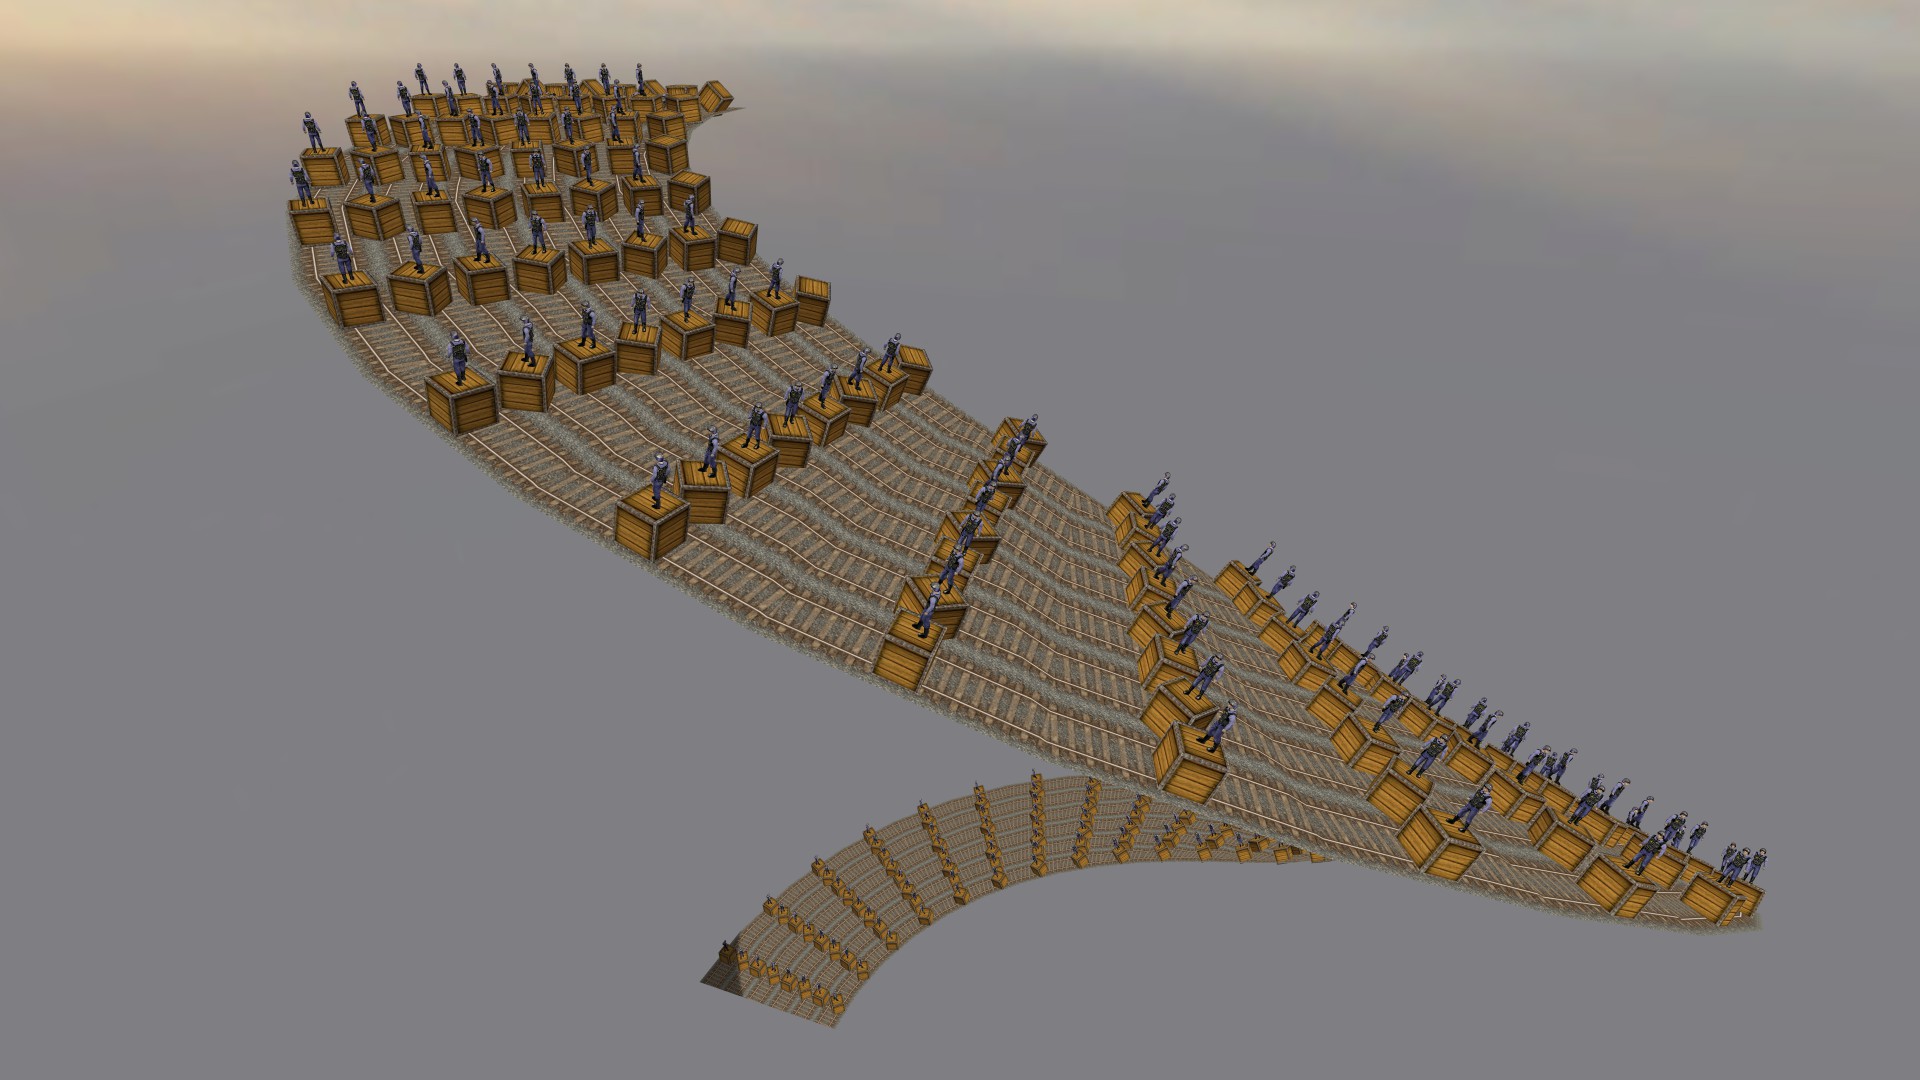
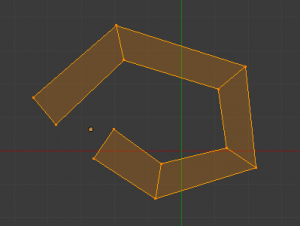
 Anyway, when including detail groups into a source map (loose objects that are not meant to be a part of the curve itself), their member entities can be automatically rotated both along the Pitch and Yaw axis, which means the objects will follow the curve entirely in direction and orientation. This can be helpful to generate specific scenes I can imagine.
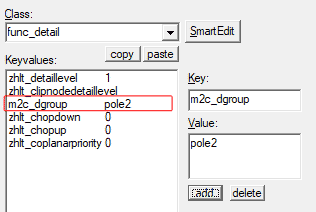 Detail objects are being created in the same MAP-file as the curve source objects. In order for Map2Curve to know which brush belongs to a detail object group, it has to be given a new Key and Value.