Preamble
In the first 2 tutorials I demonstrated how to create a simple curvy hallway and decorate it with detail objects. That way of generating curves could be called the framework method, since it relies solely on a framework of splines to build the curve brushes. Detail objects are added according to the splines direction. This is a precise construction method but it lacks the ability of using complex brushes for the whole scene.
The circle duplication method therefor relies totally on detail objects. In other words, the whole input scene belongs to the same detail object that is being carved to create a seamless curvy result. Carving only works for the Pi circle spline currently though.
1. Prepare your scene
Object Alignment
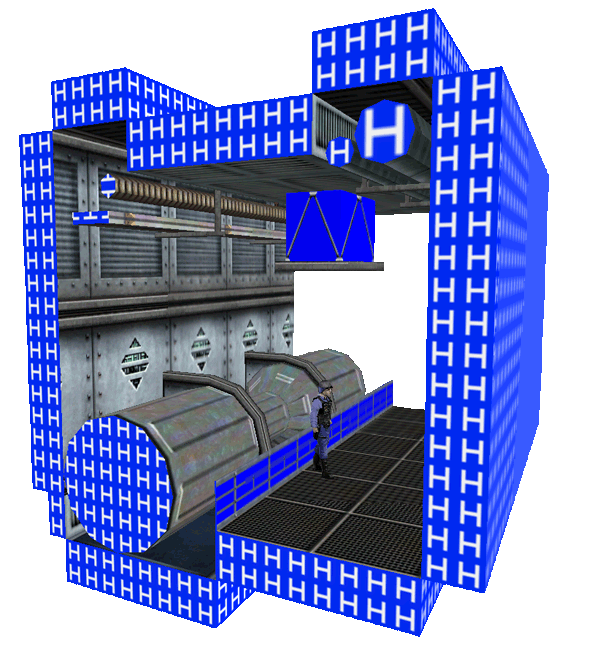
Other than before, you now need to align and position all the objects in your scene like they are supposed to look in the end. This goes for solid and point entities.
Brushes to Solid Entities
All brushes need to be turned into solid entities for them to be processed like intended!
Detail Groupnames
No m2c_d_group keyvalues have to be set this time! Although you can still use individual detail groups on top of this.
Scene Complexity
Any level of complexity can be used theoretically. Brush errors might still occur in certain situations though. Try to keep your meshes as simple as possible to avoid this!
Brushes should be at least 1 unit thick or thicker and their mesh shouldn’t be too chaotic.
Stretching the Scene
Eventually some of the scenes brushes have to be extended on the X-axis to make seamless carving possible at all. This depends on your wishes of course.
2. The Settings
A) Using a Presetfile
Paste the following code into a preset textfile:
flatcircle 1 // flattens the Pi circle spline
d_carve 1 // activates detail group carving
d_autoassign 1 // assigns all ungrouped input entities to one detail group
B) Using info_curve Entity
Add an info_curve entity to your scene and edit the following keys:
| Flat Circle: | On |
| ### Detail Groups ### | |
| Auto-Assign Ungrouped? | Yes |
| Carve? | Yes |
Flatcircle, what does that even mean?
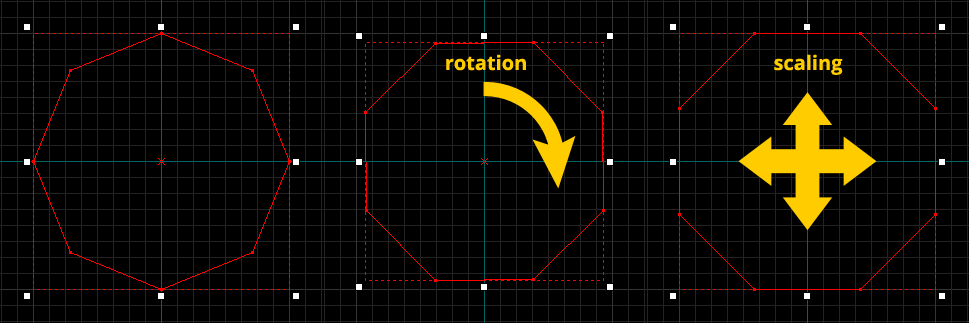
The circle spline that is used to build the curve is being flattened without loosing its original size. A flat circle is necessary because the generated curve won’t be compatible with the input mesh otherwise.
3. + 4. MAP Export and Generation
Export your scene to Goldsource MAP file format and process it with Map2Curve.
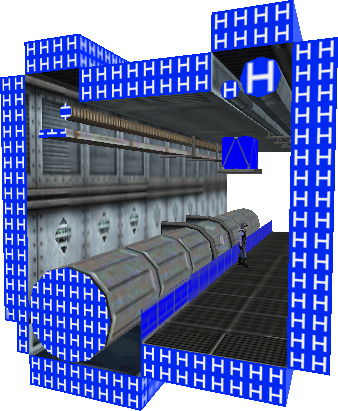
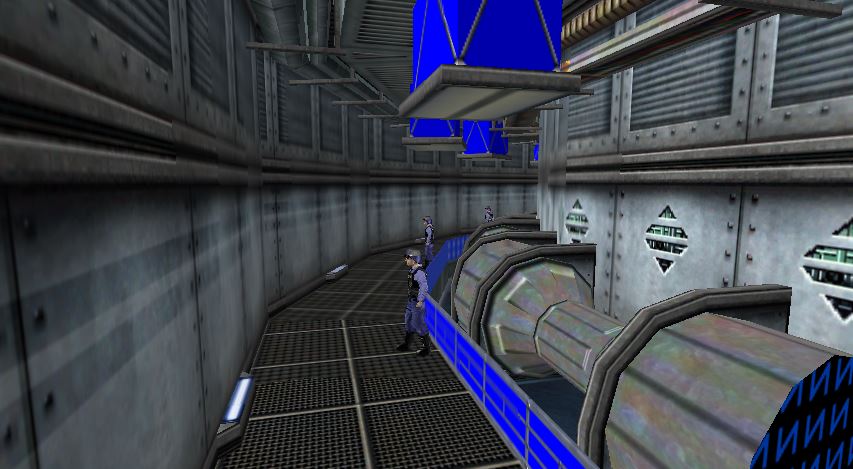
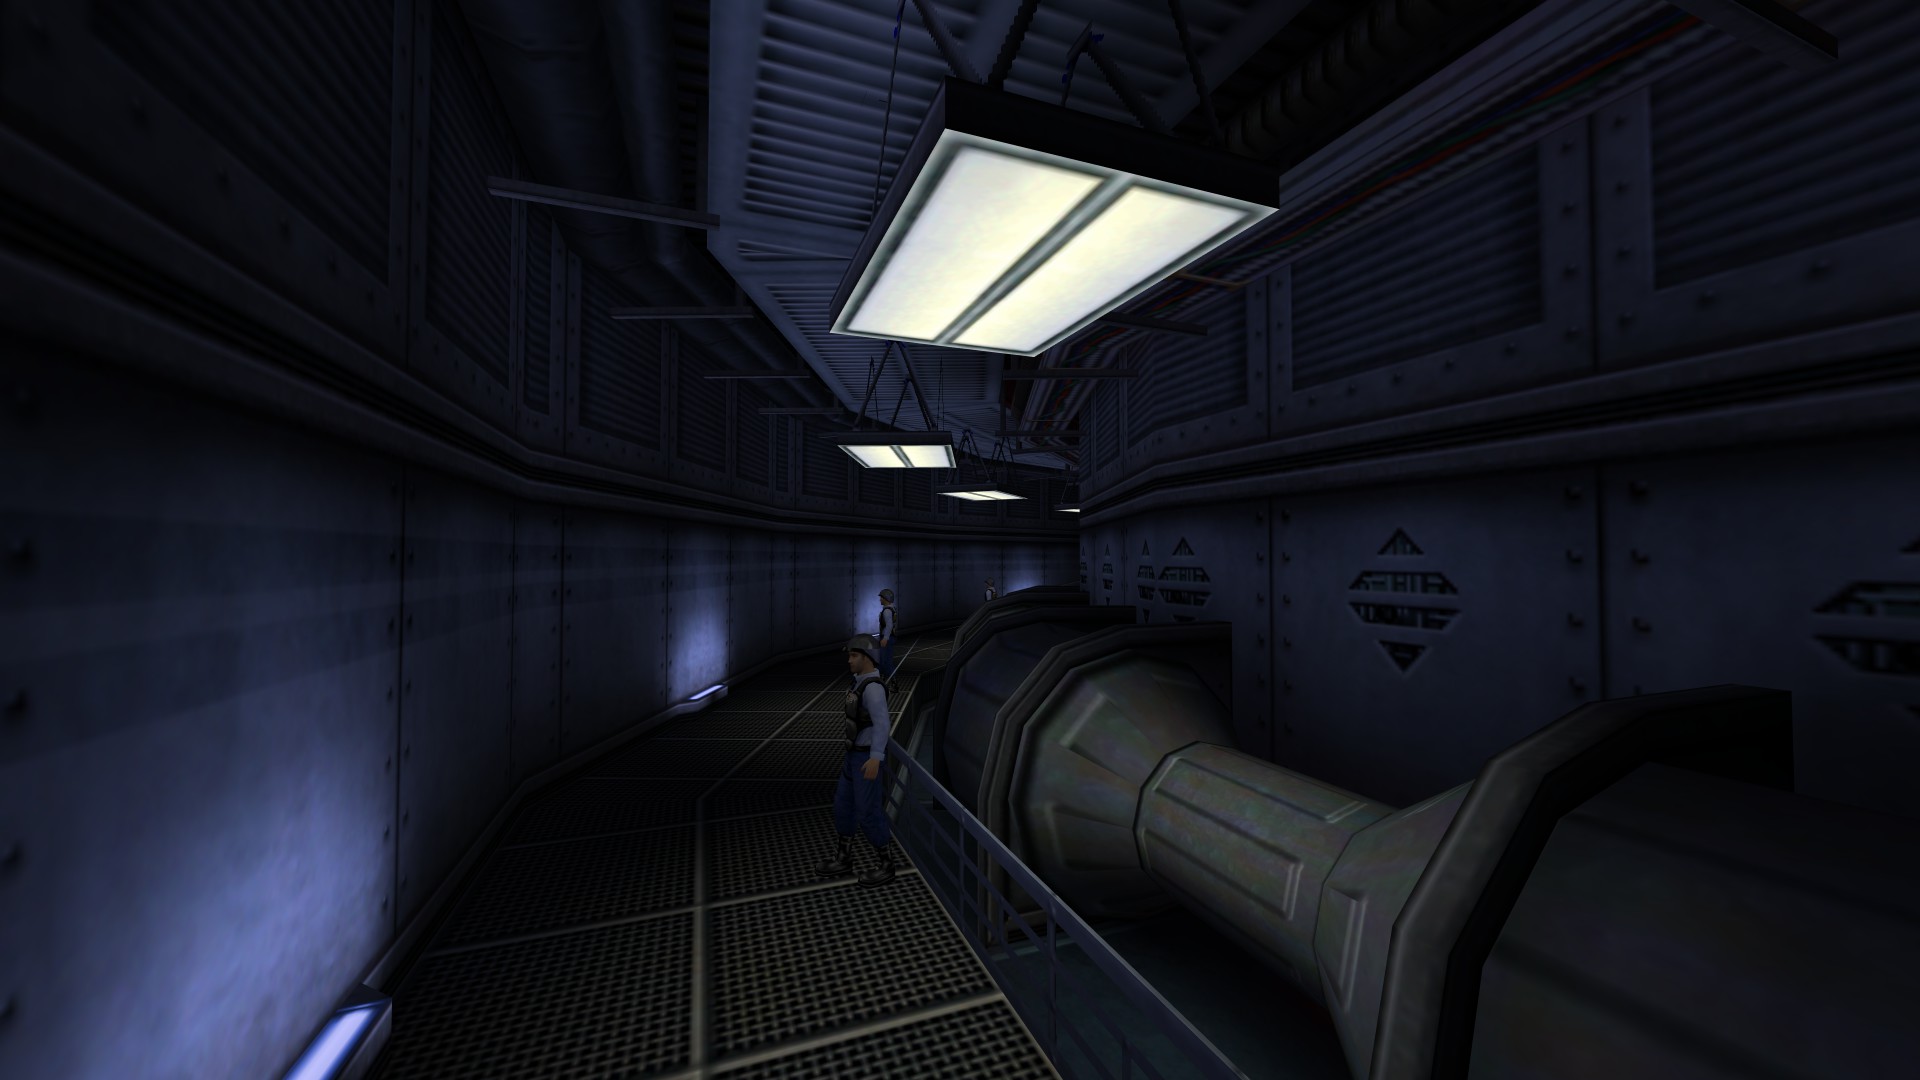
5. The Result
Further Informations
There are much more settings to influence the generation process and result.
Check out the online documentation and Readme.txt for more information.